Rewriting My Site Using Next.js
09 March 2021 / Article / Satrio
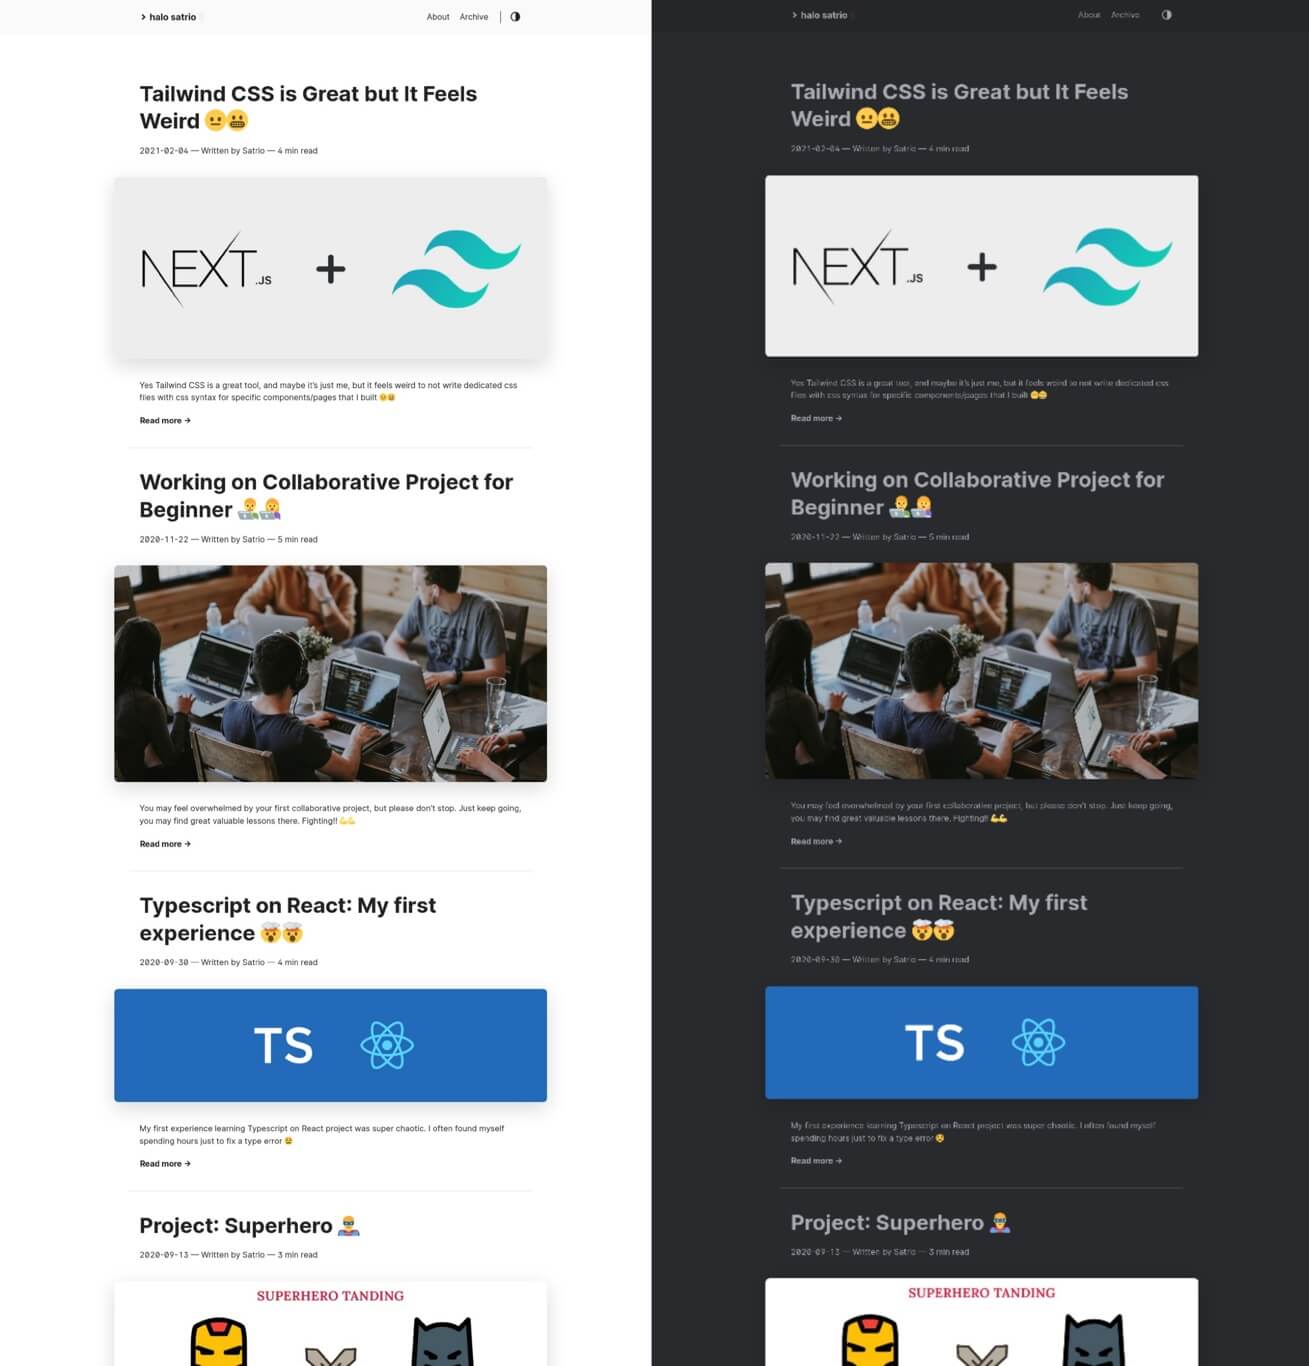
A year ago, I created a personal blog using Hugo. The reason I chose Hugo back then was that I didn't want the hassle of building a blog from scratch. I used a pre-made theme and simply filled it with my own written content.
 older version of my site: homepage
Fast-forward one year later, I had the idea to (rewrite) this blog according to my own preferences and taste. I wanted the freedom to determine how the blog would look. I settled on Next.js (+ TailwindCSS). I've actually wanted to work on a simple functional project using React for a while. Well, the reason is that I'm already familiar and comfortable with React.
If you want to create a static website using React, there are two choices: Gatsby or Next.js. Gatsby is actually more popular because it's a Static Site Generator by nature, whereas Next.js's main feature is Server-side Rendering. It was only after the introduction of the Static Site Generator (SSG) feature in Next.js 9.3 that Next.js became one of the hottest topics in the React community.
Like most developers who are always interested in the hottest technology, I chose Next.js to rebuild my blog from scratch.
Design Aspects
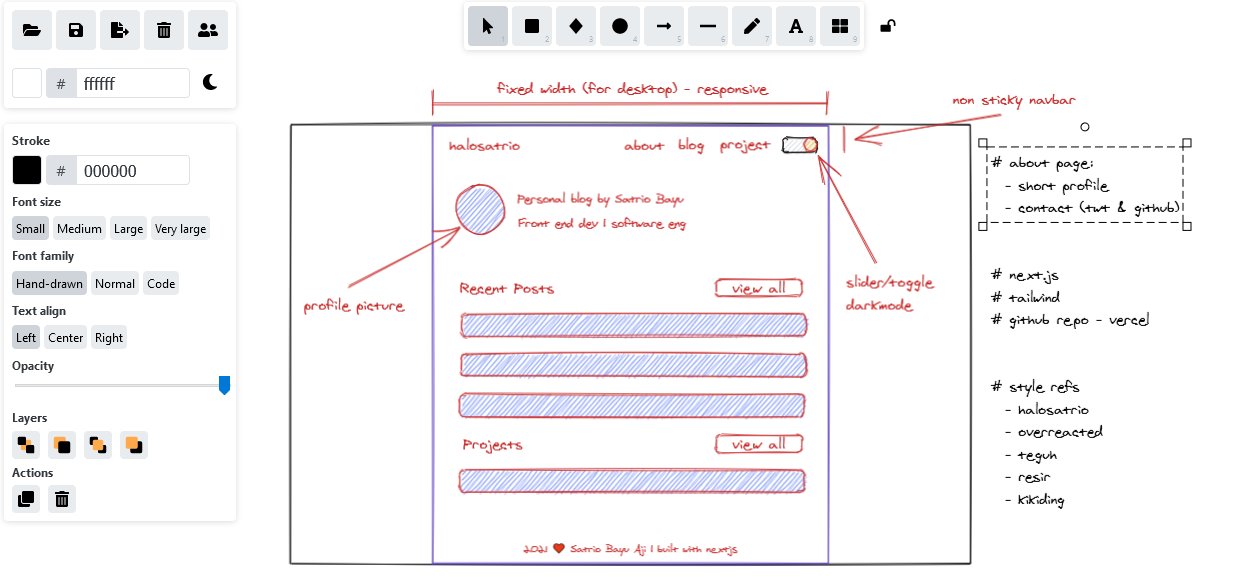
The initial design process started with sketching the homepage layout using Excalidraw. I took ideas and design inspirations for this new blog from various sources. I drew inspiration for typography and color palette from Dan Abramov's blog. As for the blog layout, I iterated through several designs from different sources.
 The initial sketch of the homepage layout using Excalidraw
In terms of styling, I chose to use Tailwind CSS. Although in a previous post I mentioned that Tailwind was weird, upon revisiting it, I realized that it's not as bad as I thought.
Well... I still don't like how "noisy" my HTML syntax gets with dozens of Tailwind-utility-classes. But honestly, I feel very assisted by using Tailwind. The development process feels faster than before, especially since Tailwind also comes with a dark mode feature, which I needed for this project.
The Coding Part
it's basically a React with fun twists
The coding part is actually similar to coding in React with a few added "new things." The "new things" I encountered in Next.js include routes, getStaticProps(), and getStaticPaths(). I find setting up routes in Next.js easier compared to developing with Create React App. In Next.js, routes are automatically created based on the components written in the pages folder.
Creating a static website in Next.js is done using Next.js's specific APIs: getStaticProps() and getStaticPaths(). Creating dynamic routes for each blog post is done by creating a file [slug].js in the pages/blog folder. Then, we simply call the getStaticProps() and getStaticPaths() functions to inform Next.js to pre-render the intended pages during build time. For further explanations on dynamic routes, getStaticProps(), and getStaticPaths(), you can refer to the Next.js official documentation.
Here's an example of using getStaticProps() and getStaticPaths() for dynamic routes in Next.js:
// pages/blog/[slug].js

export const getStaticPaths = async () => {
  const files = fs.readdirSync("_content/posts");
  const paths = files.map((filename) => ({
    params: {
      slug: filename.replace(".md", ""),
    },
  }));

  return {
    paths,
    fallback: false,
  };
};

export const getStaticProps = async ({ params: { slug } }) => {
  const markdownWithMetadata = fs
    .readFileSync(path.join("_content/posts", slug + ".md"))
    .toString();
  const { data, content } = matter(markdownWithMetadata);

  return {
    props: { data, content },
  };
};

export default Post = ({ data, content }) => {
  // ...
};
Challenges
From the beginning of this project, I wondered how to convert markdown files into HTML format for display on the blog.
In the previous version of the blog, I just accepted things as they were without knowing how it worked. All I did was write blog posts in markdown format and then execute the git push command. Voila! The latest blog post would immediately appear on the website.
In this project, I got acquainted with a popular JavaScript library called react-markdown and react-syntax-highlighter. React-markdown is useful for converting markdown format into React components, while react-syntax-highlighter is used to create syntax highlighter components.
Dificulties
The difficulty I encountered while working on this project was when dealing with the logic for the Dark Mode feature. Initially, I wrote the code for the dark mode feature from scratch. The initial design was a slider similar to the one on Dan Abramov's blog. The function was working fine, thanks to the dark mode feature in Tailwind v.2. Then, I improved the dark mode feature to be able to set and get the theme value from the browser's localStorage.
However, I discovered that Next.js cannot access the window object during server-side rendering since the window object can only be accessed on the client side. This caused the dark mode feature I created to experience flashing.
Finally, I found a library called next-themes that allowed me to directly set the theme value in the Head tag, avoiding the flashing issue. I also switched to using another person's library, react-toggle-dark-mode, for the toggle button to activate the dark mode.
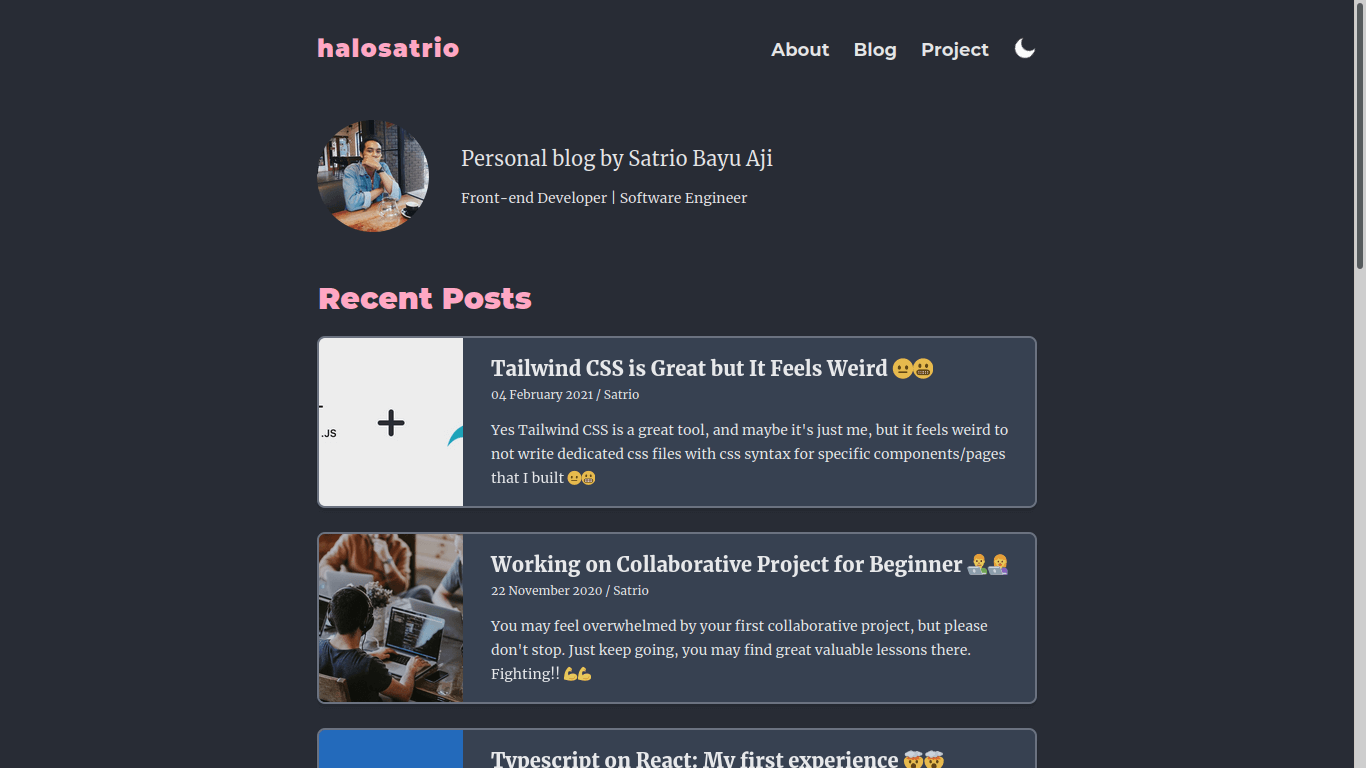
 New version of the homepage in dark mode